Bootstrap Guide for Beginners..🤝🏻
Bootstrap is an efficient front-end framework to design any interactive website. It is a time-saving and easier way to develop any kind of website.
It includes HTML and CSS templates based on creating user-friendly features such as forms, buttons, navigation, downloads, alerts, models, tabs, accordions, carousels, tooltips, and more.
So, Let's get started with bootstrap!
In this article, we're going to create our first web page powered by bootstrap. And you won't even need any prior knowledge of coding to do this!
Creating Web Page using Bootstrap Starter Template
For creating the first web page using bootstrap follow the steps given below:
Step 1:- Open your browser and Search Download VS code or Click here to download.
You can also refer to this link for details regarding VS code installation: blog.roadtocode.org/how-to-install-vs-code-...
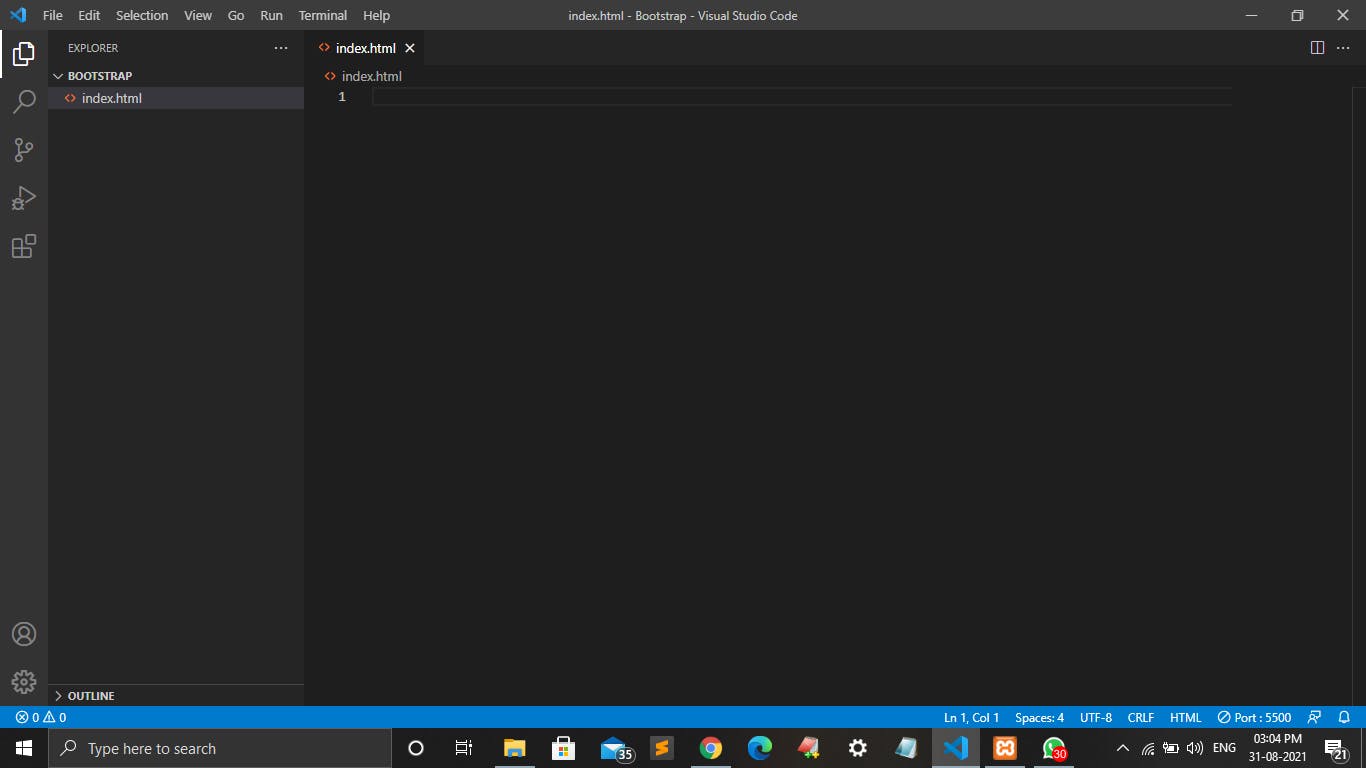
Step 2:- Create Folder naming "Bootstrap". Right-click and select Open with Code. And Create an HTML file naming "index.html".
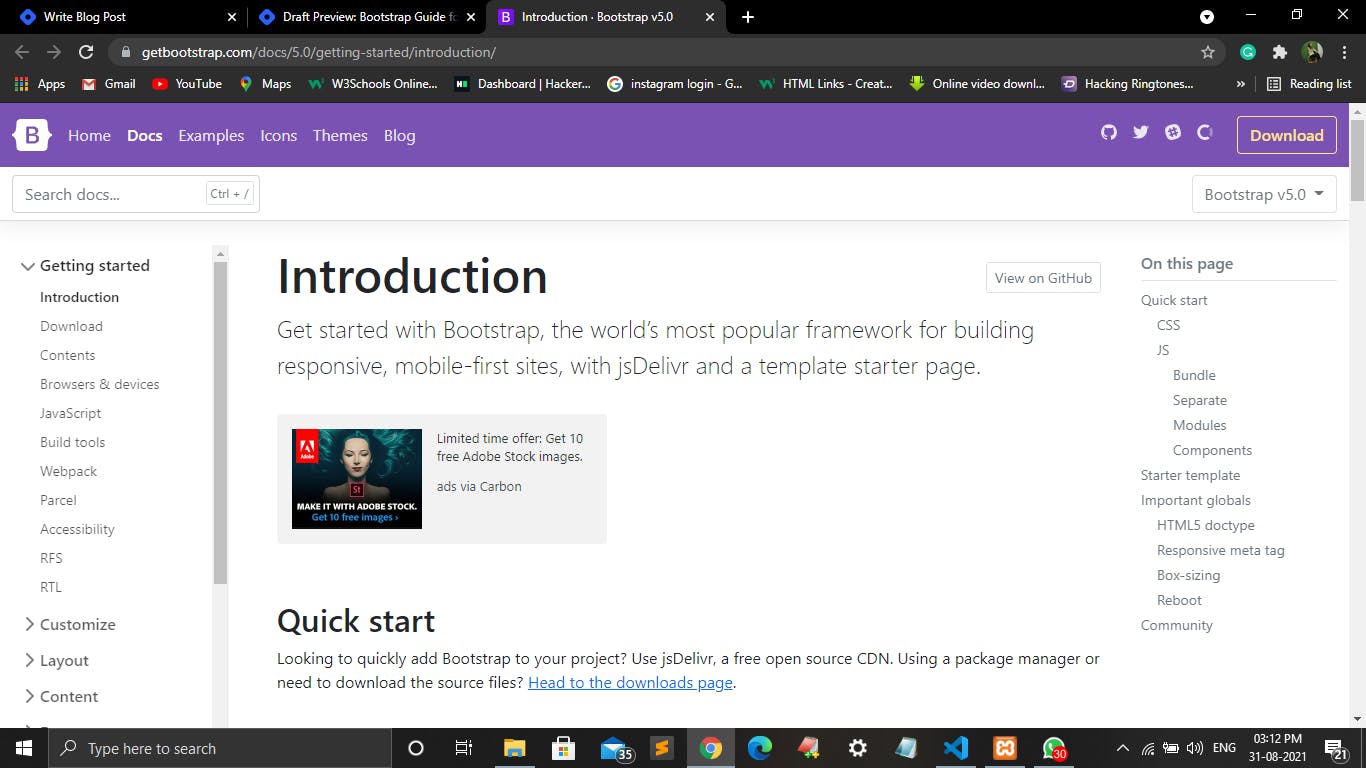
Step 3:- Now moving towards browser, Search for get bootstrap or Go to this link: getbootstrap.com/docs/5.0/getting-started/i...
You will see the following web page.
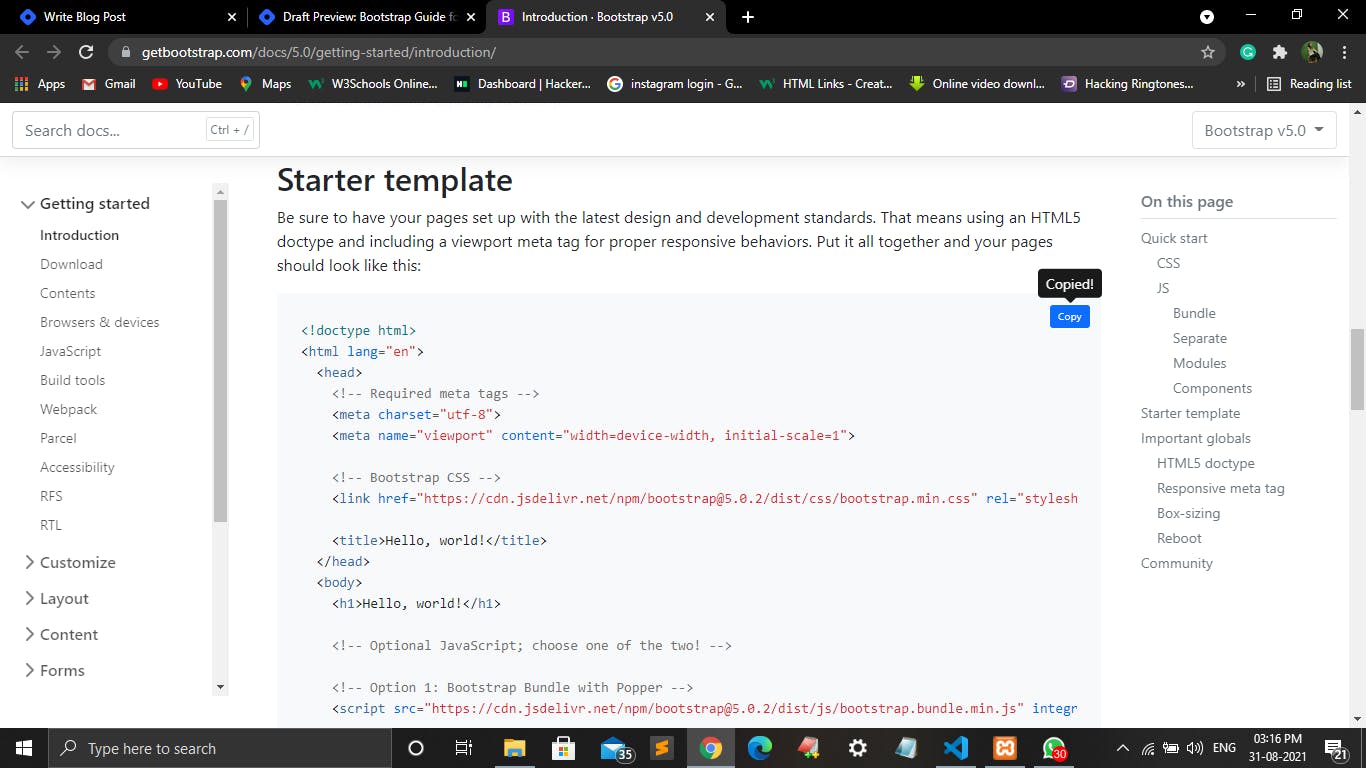
Step 4:- Scrolling down, you'll see Starter Template Code wherein someone has already written all the code we are going to need. All you have to do is simply click on 'copy'.
Step 5:- Now open VS code and paste the copied code at file "index.html" and save it.
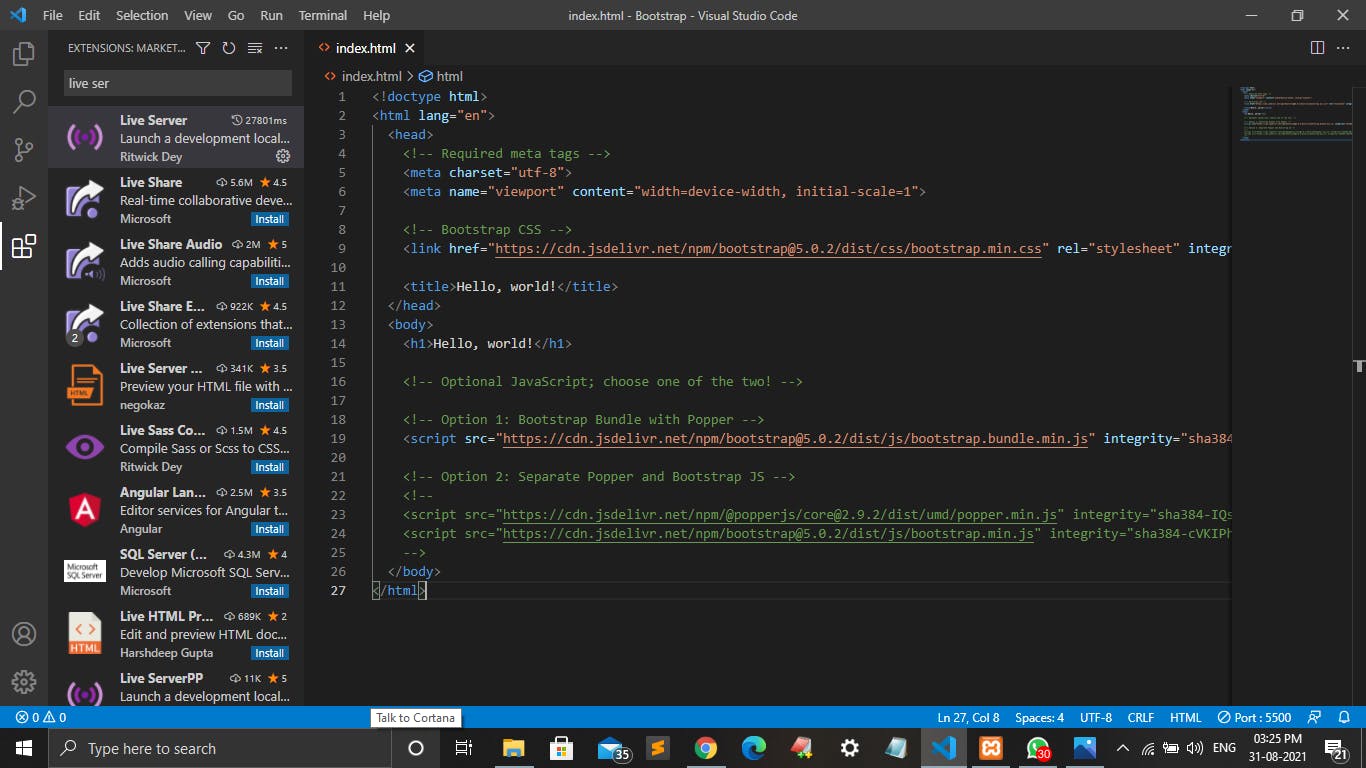
Step 6:- Click on the extensions given on the left side in VS code and search Live Server and install it. This Live Server will help us to run our code online on the browser.
Refer to the following window:
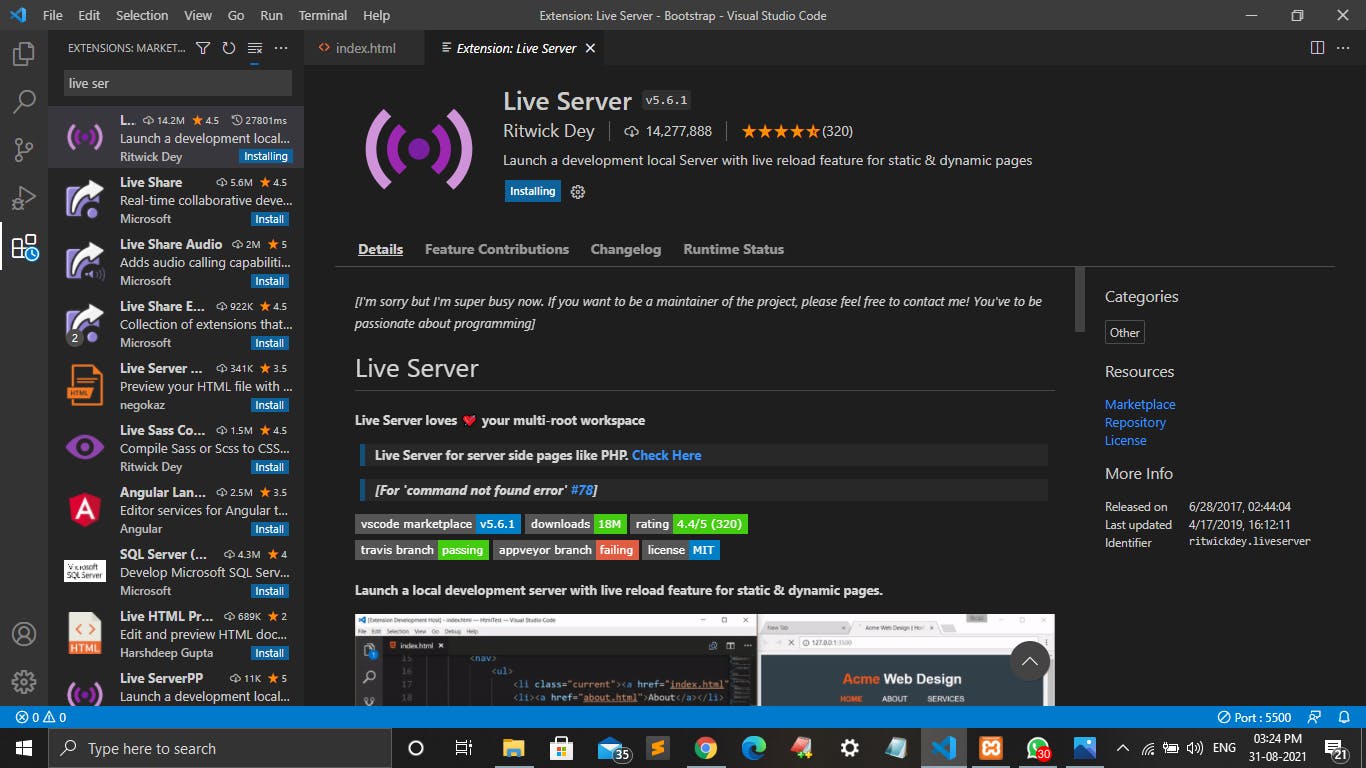
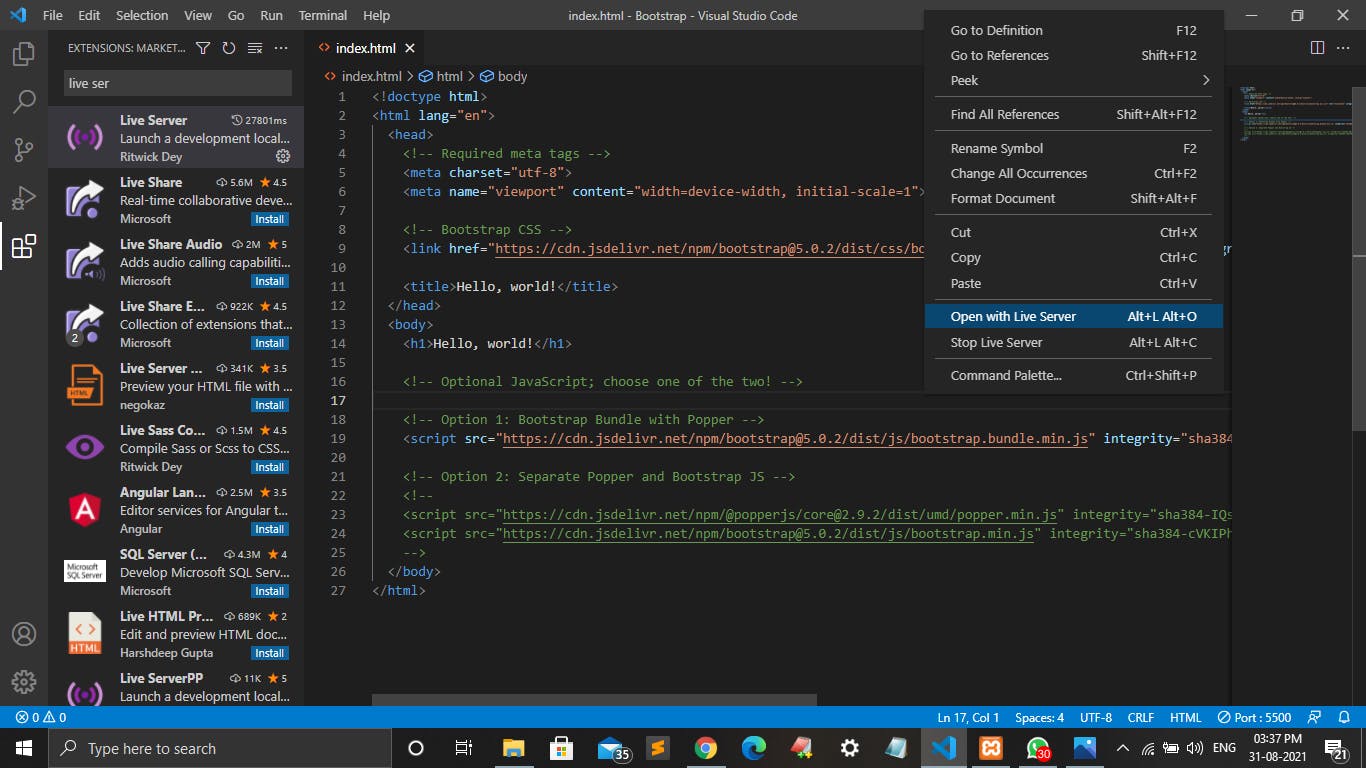
Step 7:- Once you installed Live Server, move to index.html file. Right-click on the code screen and click on Open with Live Server.
Step 8:- That's it, congratulations! You've successfully created your first webpage using bootstrap. The output will look like the following. You can try n play around with different tags and edit the elements. Maybe add another snippet of code. It's free and that means you're free to do anything you'd like with it!

This was just a demo website. You can create a responsive website using various components of bootstrap from getbootstrap.com.
Let me show you some of them here...
Some Components of Bootstrap
Buttons
👉 The following codes are for getting simple colorful buttons.
<button type="button" class="btn btn-primary">Primary</button>
<button type="button" class="btn btn-secondary">Secondary</button>
<button type="button" class="btn btn-success">Success</button>
<button type="button" class="btn btn-danger">Danger</button>
<button type="button" class="btn btn-warning">Warning</button>
<button type="button" class="btn btn-info">Info</button>
<button type="button" class="btn btn-light">Light</button>
<button type="button" class="btn btn-dark">Dark</button>

<button type="button" class="btn btn-link">Link</button>
Output:

👉 The following codes are for getting buttons with colorful borders.
<button type="button" class="btn btn-outline-primary">Primary</button>
<button type="button" class="btn btn-outline-secondary">Secondary</button>
<button type="button" class="btn btn-outline-success">Success</button>
<button type="button" class="btn btn-outline-danger">Danger</button>
<button type="button" class="btn btn-outline-warning">Warning</button>
<button type="button" class="btn btn-outline-info">Info</button>
<button type="button" class="btn btn-outline-light">Light</button>
<button type="button" class="btn btn-outline-dark">Dark</button>
Output:

Dropdown
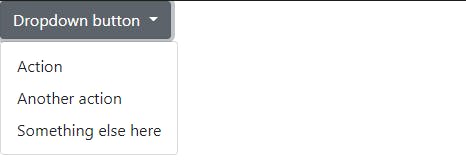
👉Single-button Dropdown
<div class="dropdown">
  <button class="btn btn-secondary dropdown-toggle" type="button" id="dropdownMenuButton1" data-bs-toggle="dropdown" aria-expanded="false">
    Dropdown button
  </button>
  <ul class="dropdown-menu" aria-labelledby="dropdownMenuButton1">
    <li><a class="dropdown-item" href="#">Action</a></li>
    <li><a class="dropdown-item" href="#">Another action</a></li>
    <li><a class="dropdown-item" href="#">Something else here</a></li>
  </ul>
</div>
Output:
So.....
What are you waiting for? Go and make your own website now!
I hope you find this article helpful. Keep learning with Road to Code.
Happy Coding!
Thank You!