How To Install XAMPP Server On Windows 10


What is XAMPP?
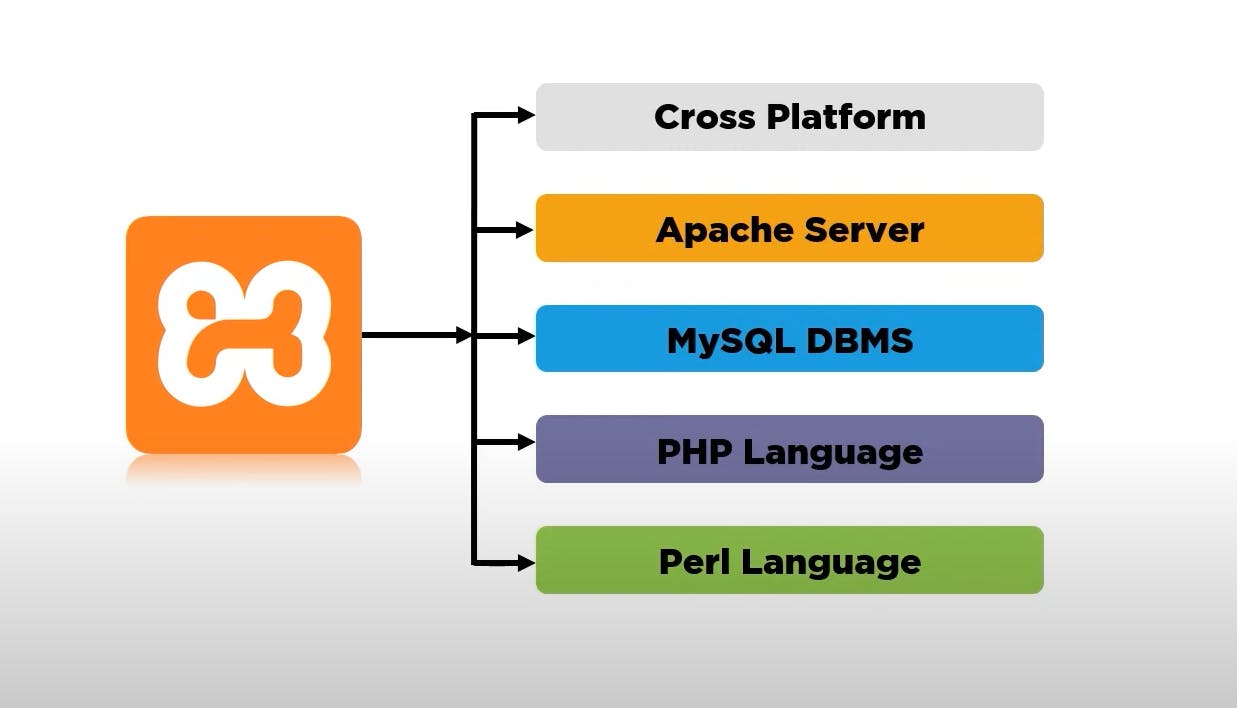
XAMPP is a one-stop open source cross-platform solution for multiple needs. In general, it is considered as a bundle of software utilities that include an Apache server MySQL database support for PHP and support for Perl Language. This simple and lightweight solution works on Windows Linux and Mac as well, hence the cross-platform part. Now that we have a quick briefing about XAMPP, let us get started with the installation procedure.
How to install XAMPP?
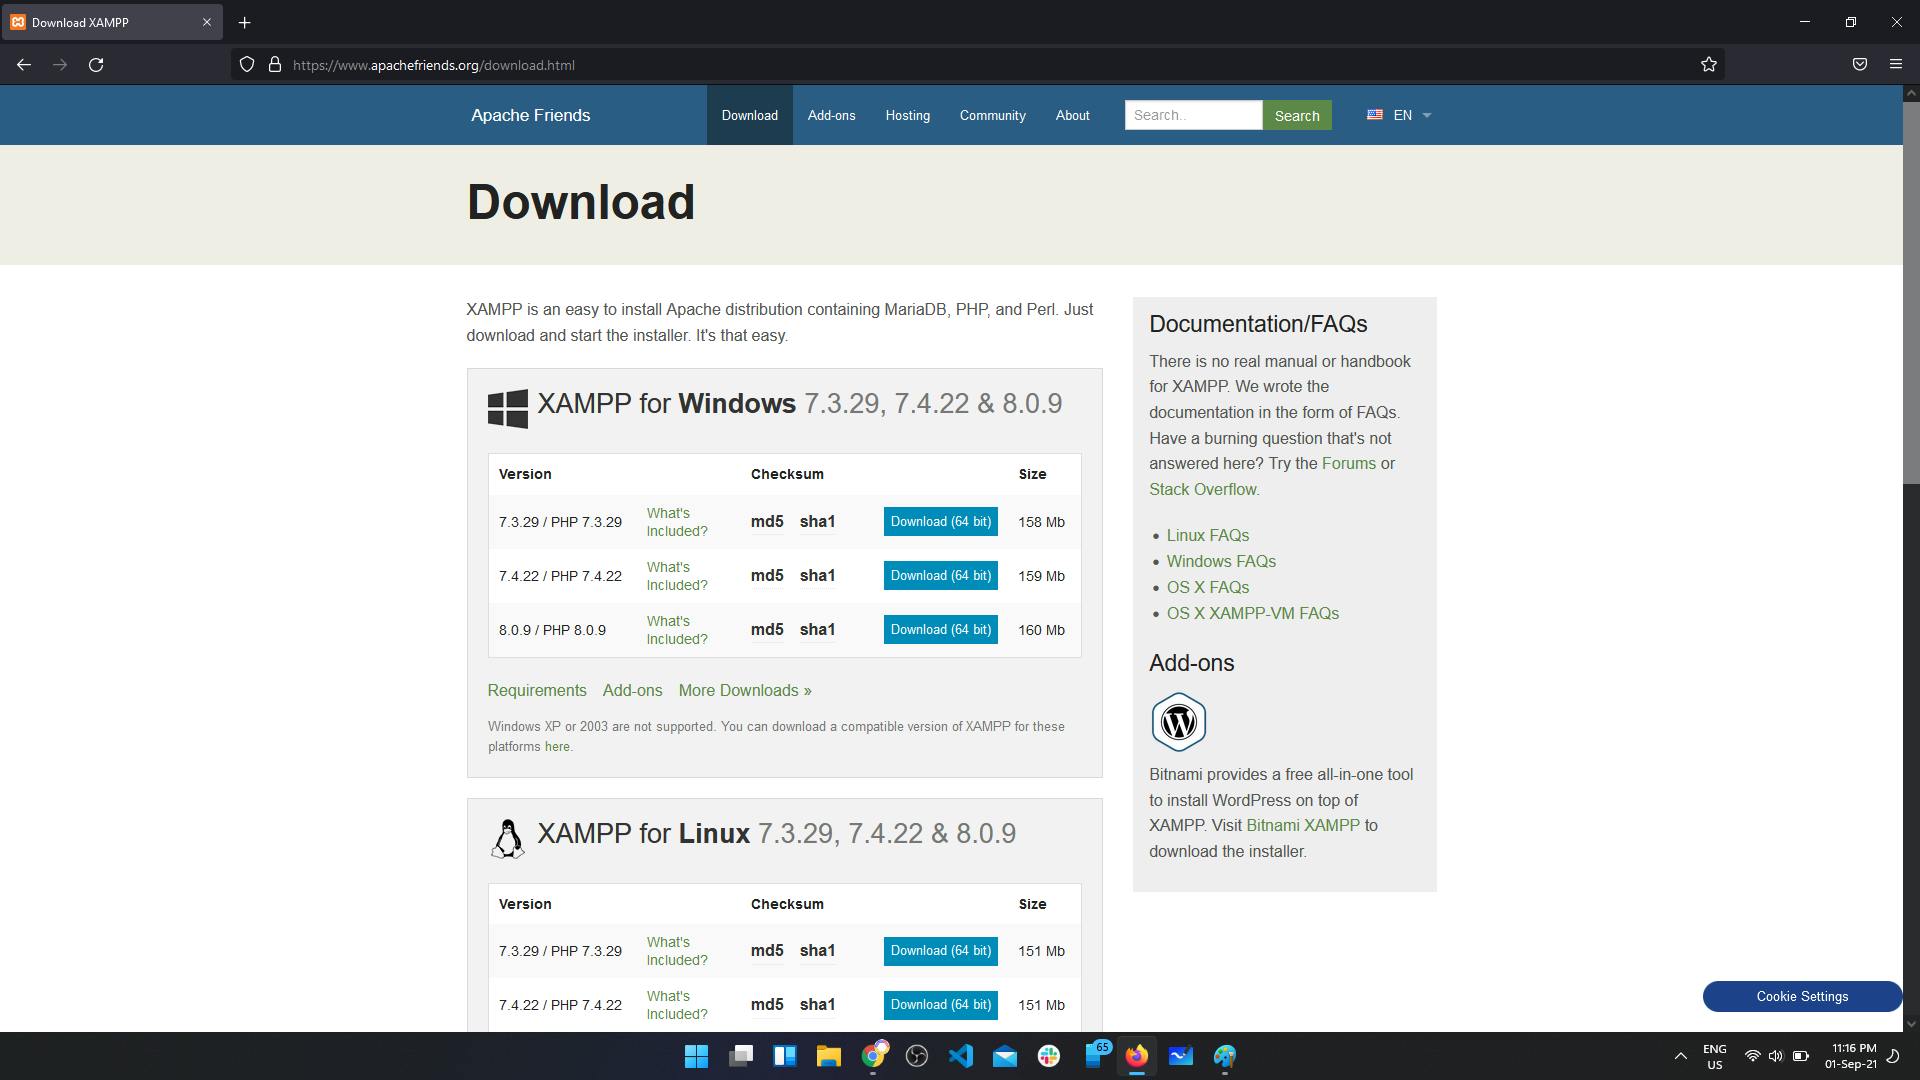
Installing XAMPP is really simple. All you need to do is just Google and download XAMPP. You can also click on the following link: Download. This will take you to the Apache web site. Here you can see multiple versions of XAMPP.
 The first one is for windows, second
is for Linux and the third one is for
mac.
The first one is for windows, second
is for Linux and the third one is for
mac.
 Now you can select the version based on your operating system.
I would suggest you to go with the
latest version available. You just need to click on the
download button and there you go!
Your software shall start downloading now.
This might take a while.
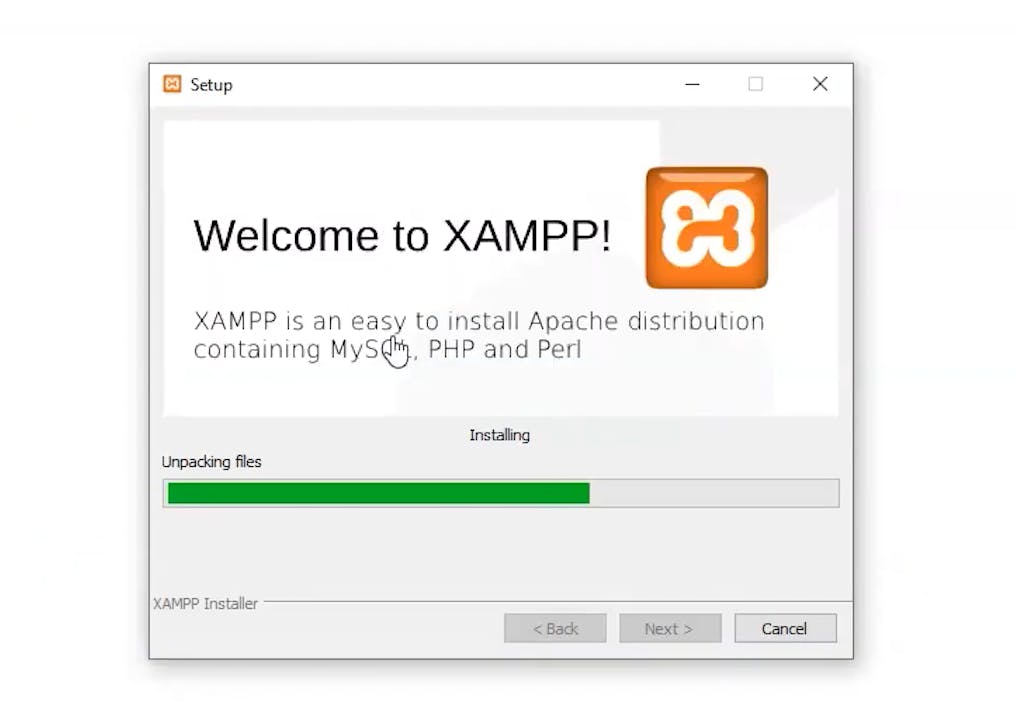
Once you've downloaded the software, open it and this will
start your installation procedure.
You may want to provide the required permission by tapping on 'yes' and
ignore any warnings by antivirus if any.
Now you can select the version based on your operating system.
I would suggest you to go with the
latest version available. You just need to click on the
download button and there you go!
Your software shall start downloading now.
This might take a while.
Once you've downloaded the software, open it and this will
start your installation procedure.
You may want to provide the required permission by tapping on 'yes' and
ignore any warnings by antivirus if any.
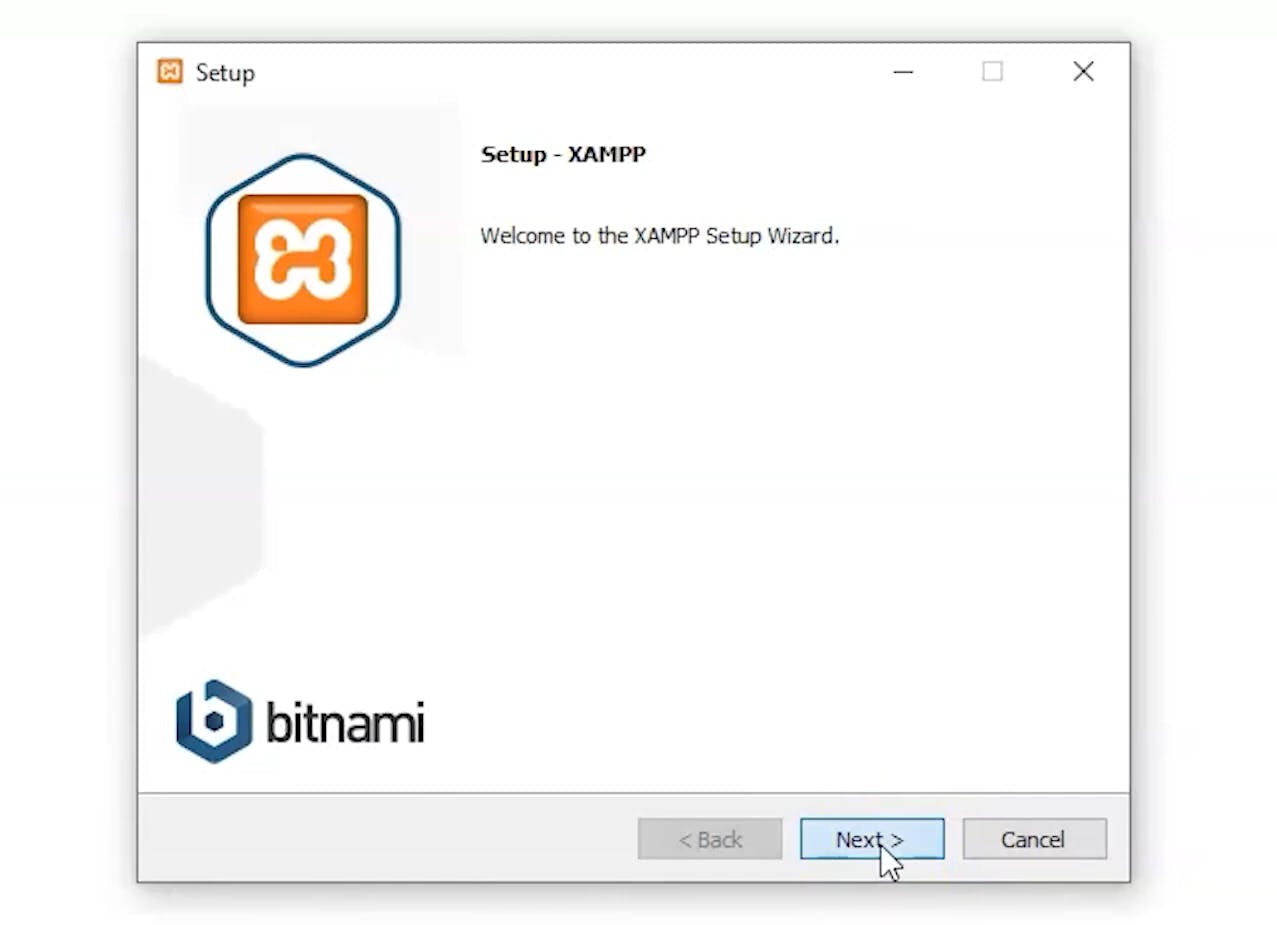 You can start the wizard by clicking 'next'.
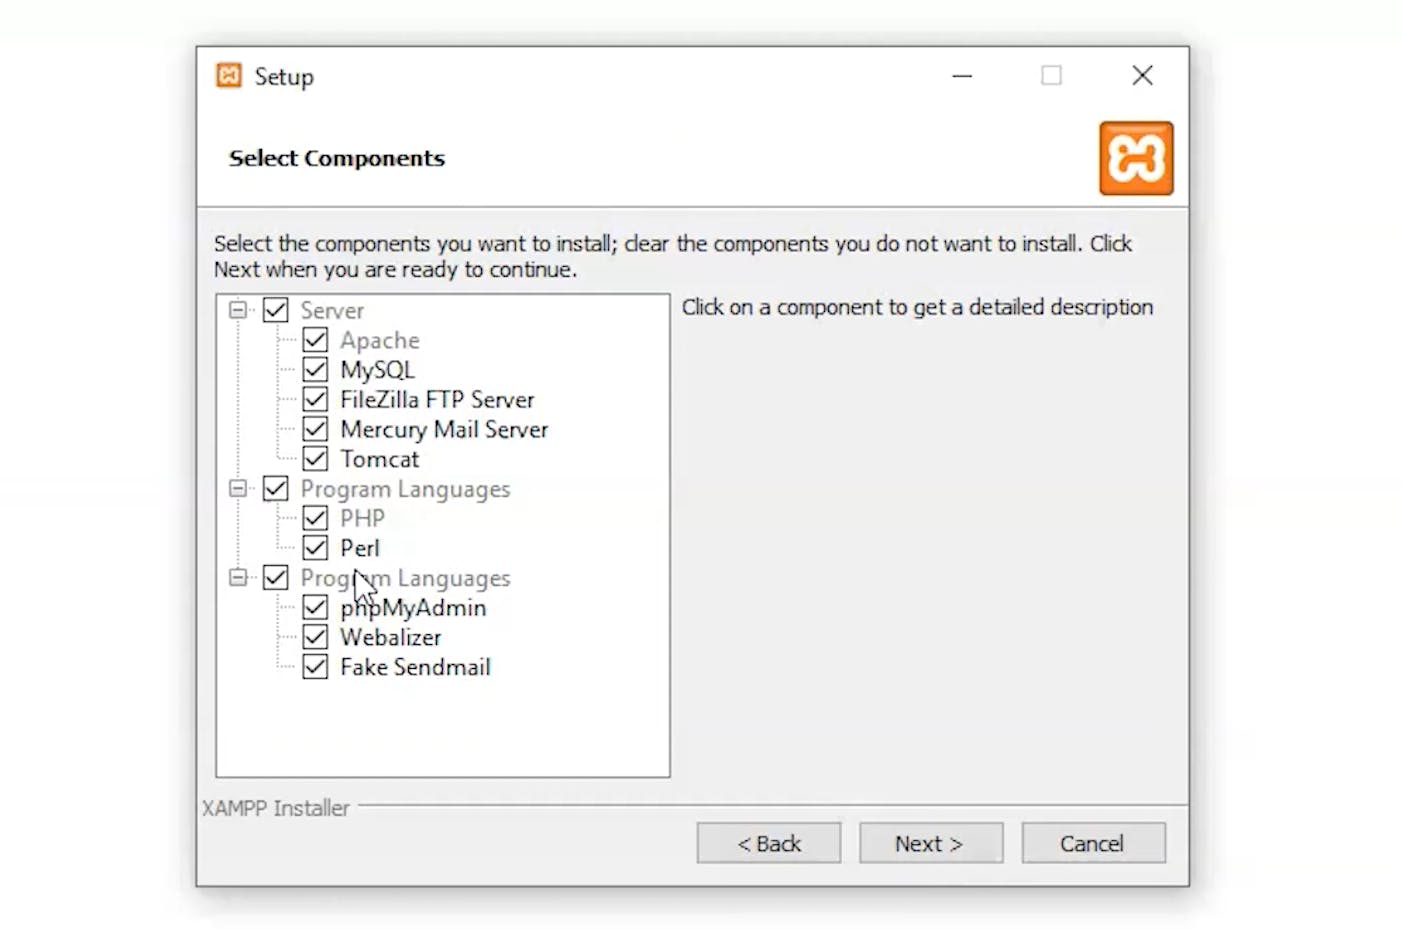 So here you can see multiple options for
server, programming languages etc. So
you have the varieties of server such as
Apache, MySQL, FileZilla, Tomcat, etc.
You never know which one you might need
in the future so I would suggest you to
just select all and same goes for the
programming languages.
Just select 'next'
So here you can see multiple options for
server, programming languages etc. So
you have the varieties of server such as
Apache, MySQL, FileZilla, Tomcat, etc.
You never know which one you might need
in the future so I would suggest you to
just select all and same goes for the
programming languages.
Just select 'next'
 So now you can see the next dialog box
where you're asked to select the installation folder
for your software. It would be better
if you select the default location that
is C-drive.
Select 'next' and here you asked to
select the different languages for your
control panel.
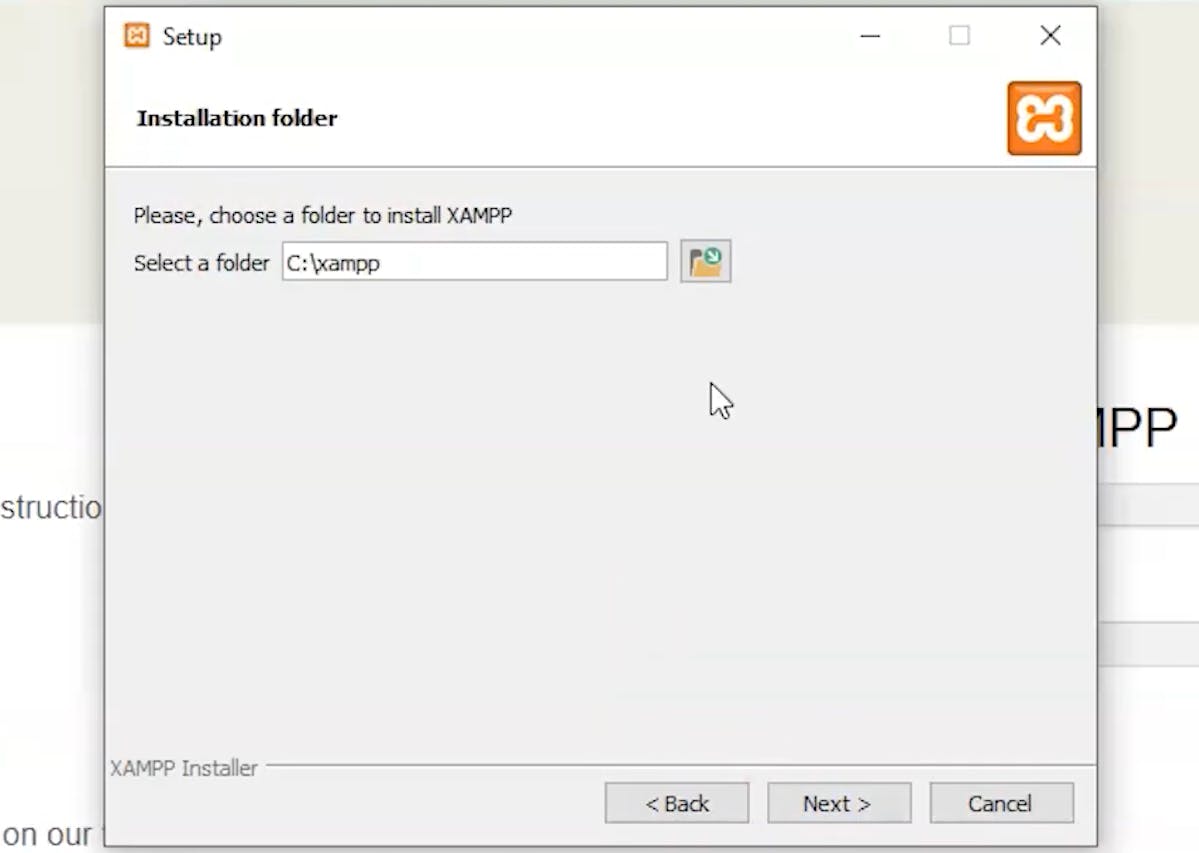
So now you can see the next dialog box
where you're asked to select the installation folder
for your software. It would be better
if you select the default location that
is C-drive.
Select 'next' and here you asked to
select the different languages for your
control panel.
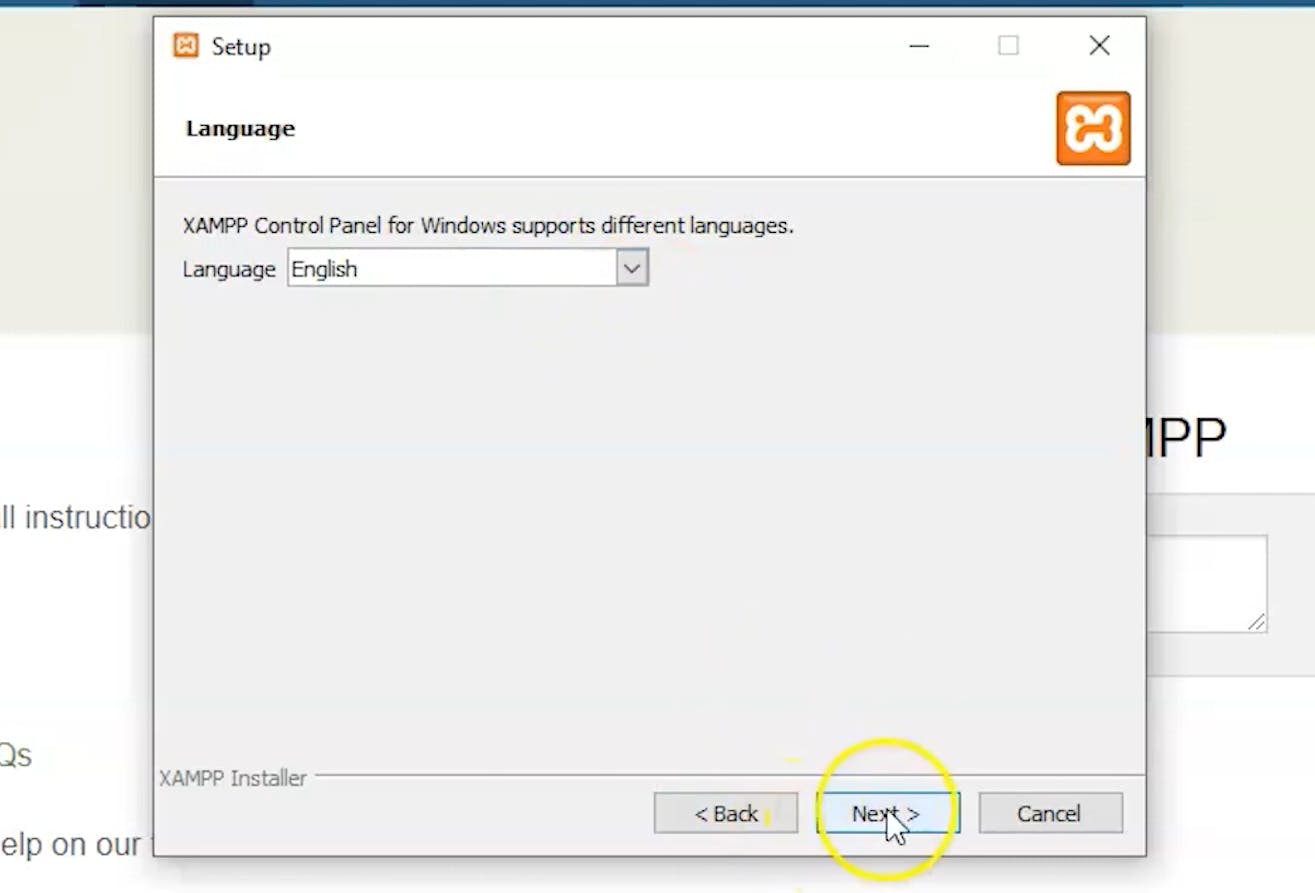 Now select English. You may also select any other language but who does that? English is a default option here. Now
let's click 'next' again and next and now
your software is ready to get installed.
Now select English. You may also select any other language but who does that? English is a default option here. Now
let's click 'next' again and next and now
your software is ready to get installed.
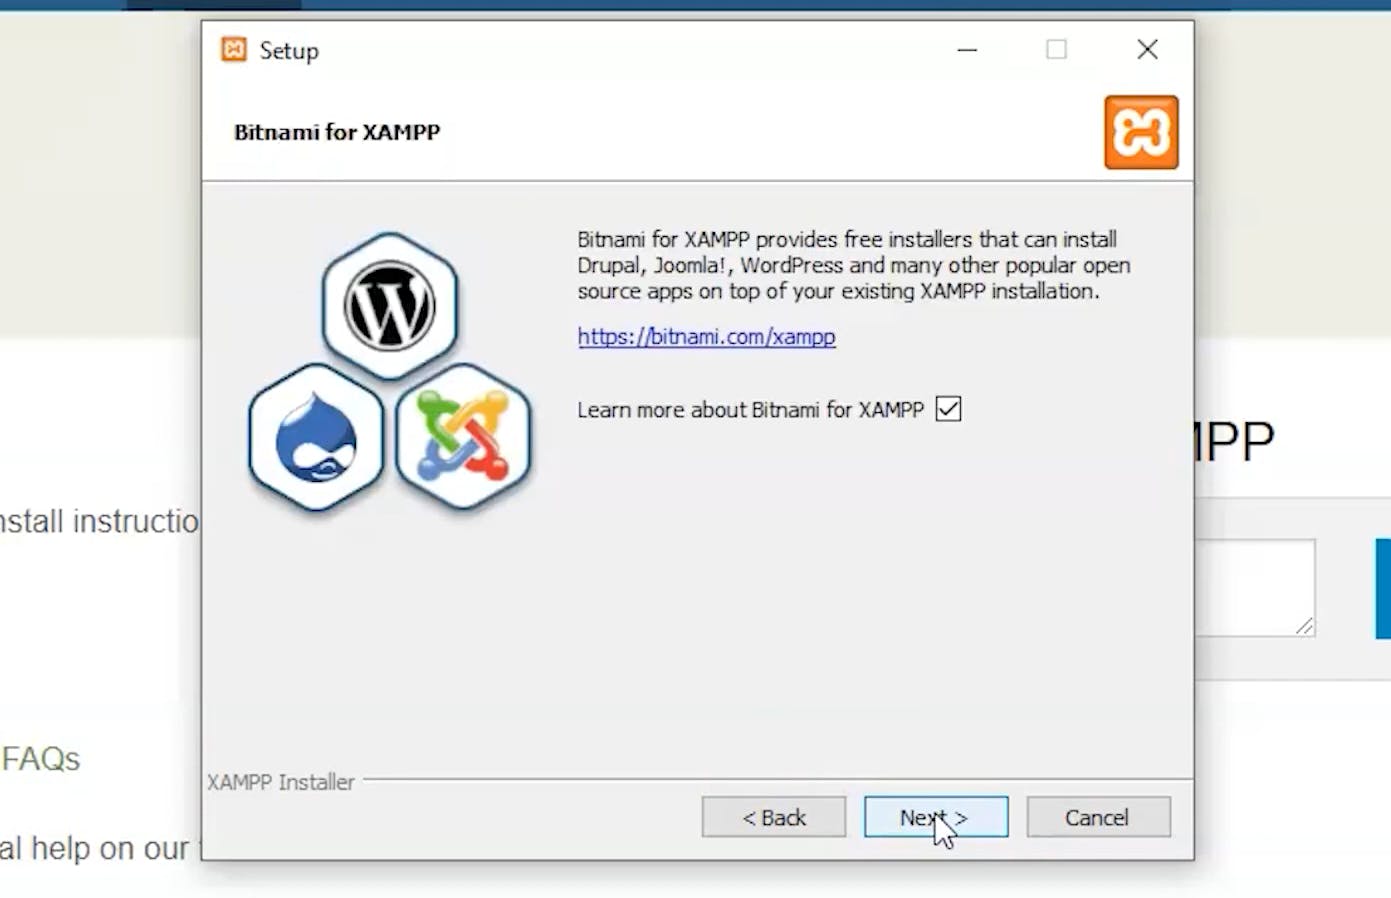
A new webpage may open automatically but don't worry about this. You can close it safely. Let's get back to a set of files.
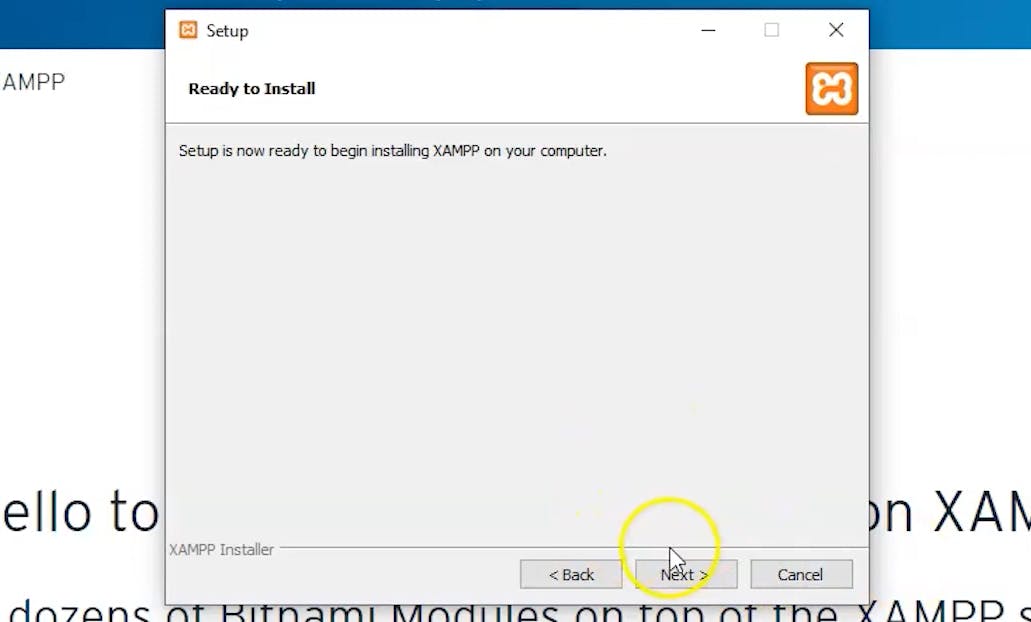
Now just select next to start with the installation and there you go!
 You can see that XAMPP is getting installed
into your local system now this might
take up a little while all you need to
do is just wait.
You can see that XAMPP is getting installed
into your local system now this might
take up a little while all you need to
do is just wait.
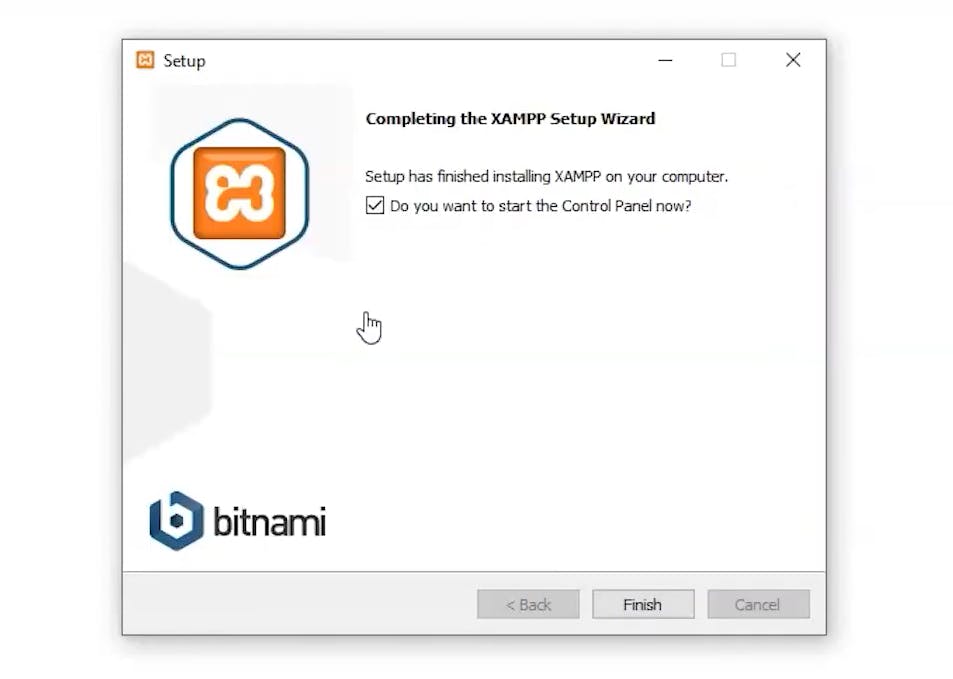 When the installation is done,
you can just click on the finish button
and the process will be finished.
Now you can see your XAMPP
control panel on your screen!
When the installation is done,
you can just click on the finish button
and the process will be finished.
Now you can see your XAMPP
control panel on your screen!
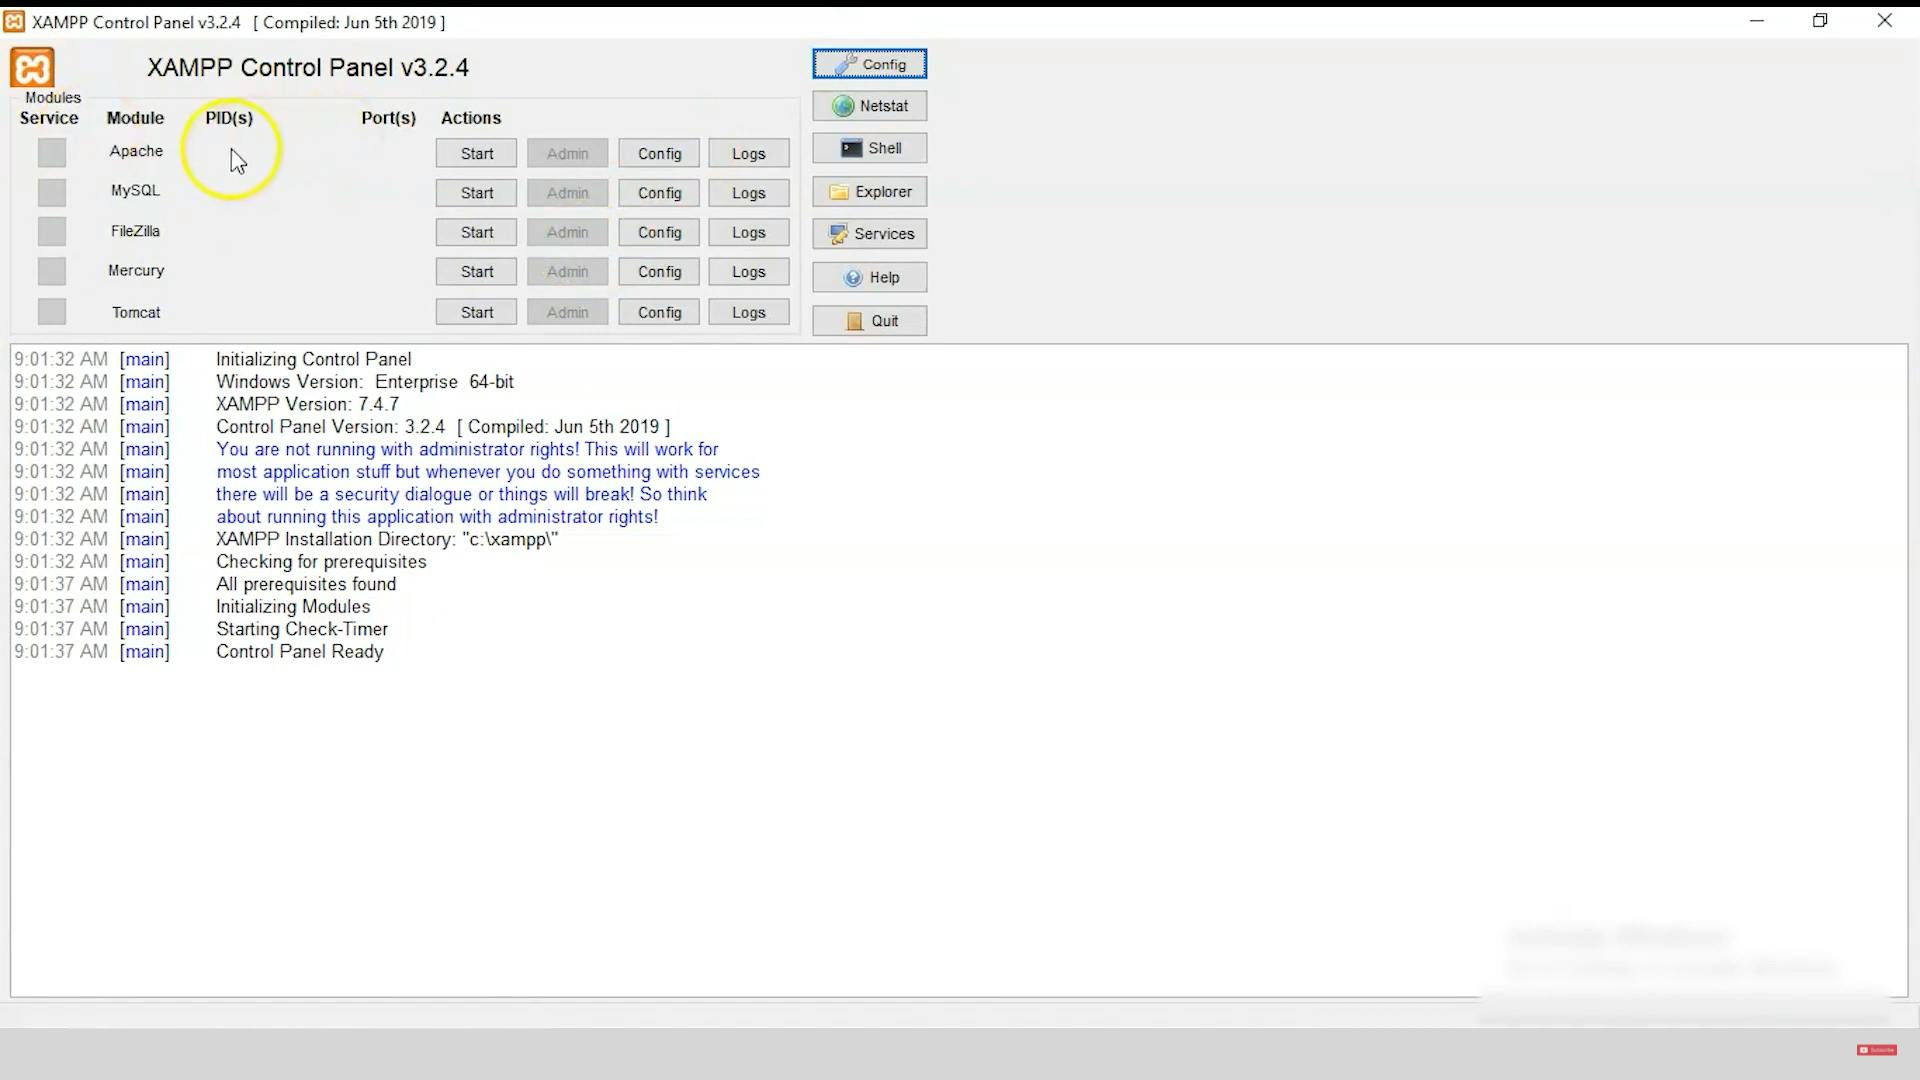
Now you can see the modules on your control panel which are the Apache server, MySQL database, FileZilla server, Mercury server and Tomcat server. You can start any one of these. For instance let's get started with Apache, First to start that all you need to do is just select the start button.
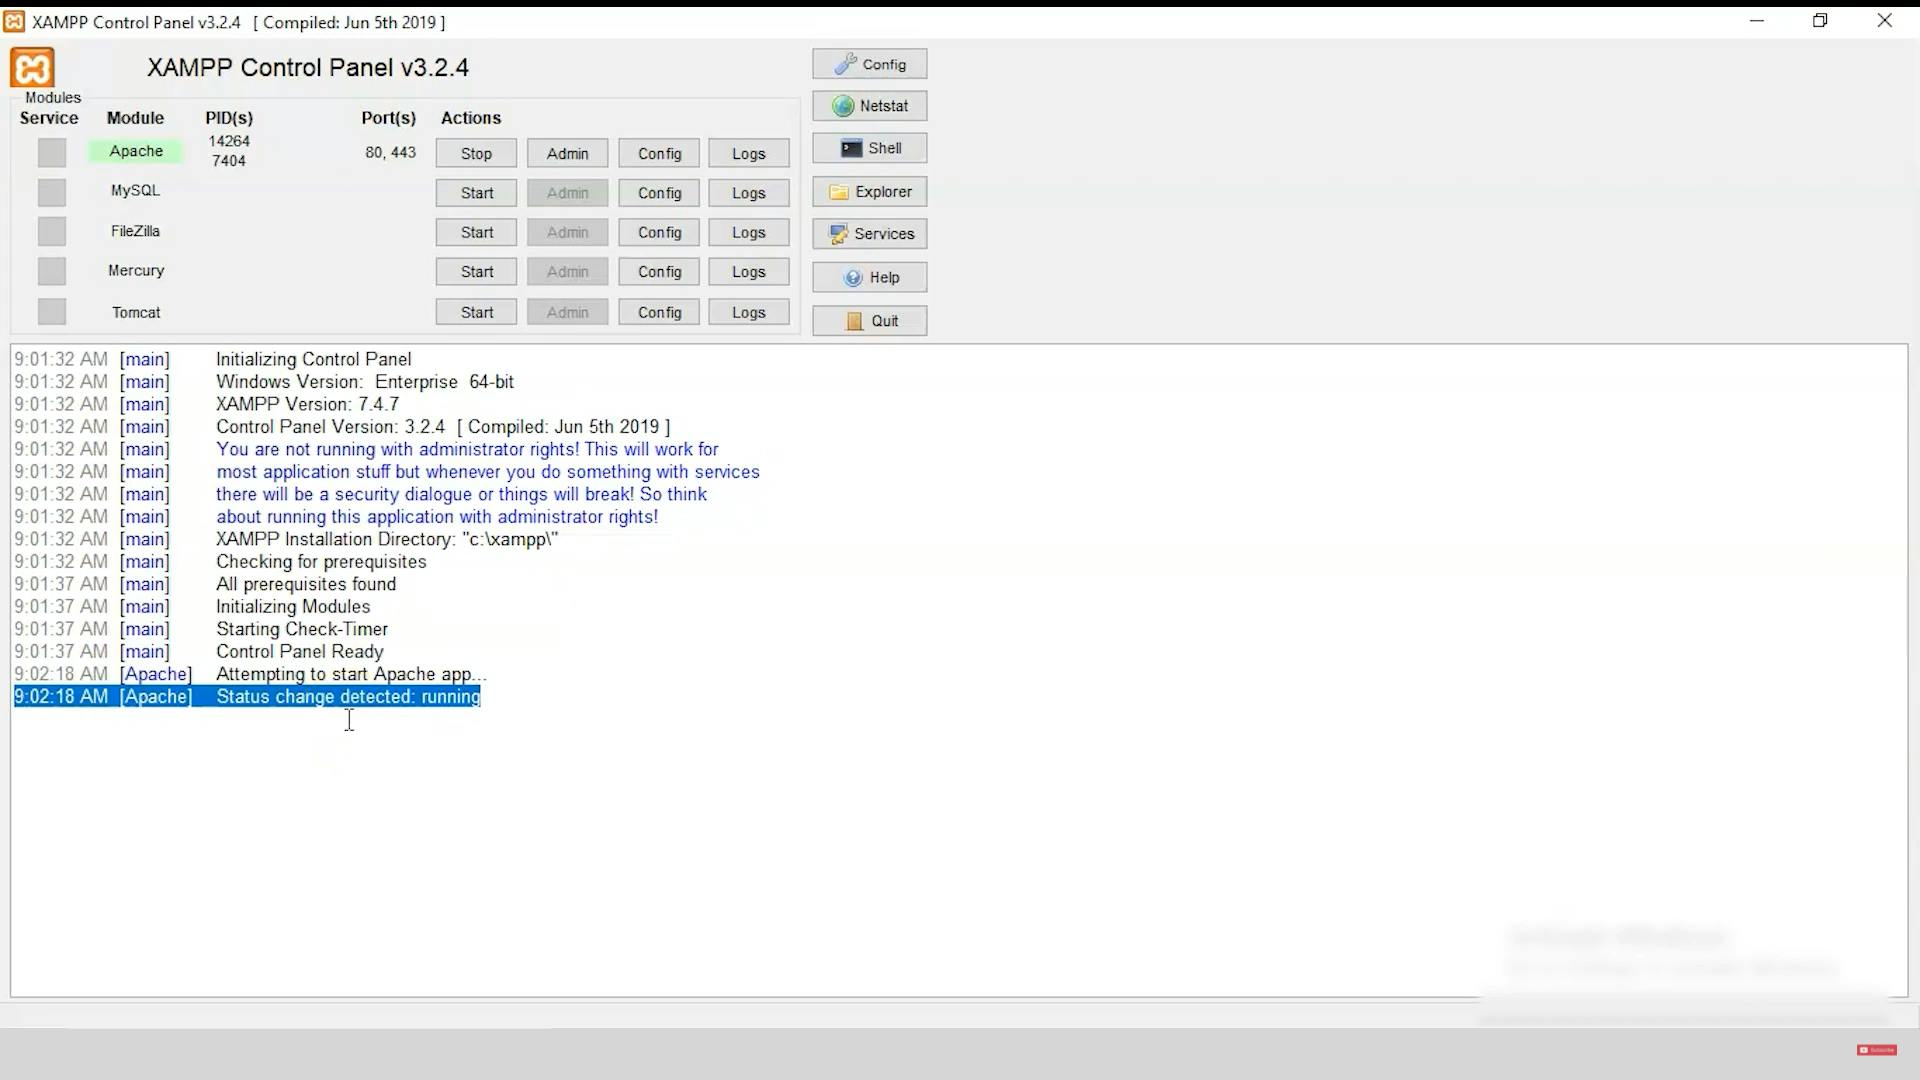 And you can see the Apache has just
started and then you can see the Apache
app state is changed to running. Now you
can see the process IDs of Apache server
as well as the port number which is 80.
Here you have an option of configuring
your port numbers because what if in
future you may need to start Tomcat and
Apache server parallelly but in different
port numbers? So to make sure that they
don't interfere with each other
you can configure them on different port
numbers to do so all you need to do is
just open config.
And you can see the Apache has just
started and then you can see the Apache
app state is changed to running. Now you
can see the process IDs of Apache server
as well as the port number which is 80.
Here you have an option of configuring
your port numbers because what if in
future you may need to start Tomcat and
Apache server parallelly but in different
port numbers? So to make sure that they
don't interfere with each other
you can configure them on different port
numbers to do so all you need to do is
just open config.
 Here inside the menu choose the first
option that is 'Apache(httpd.conf)'.
Here inside the menu choose the first
option that is 'Apache(httpd.conf)'.
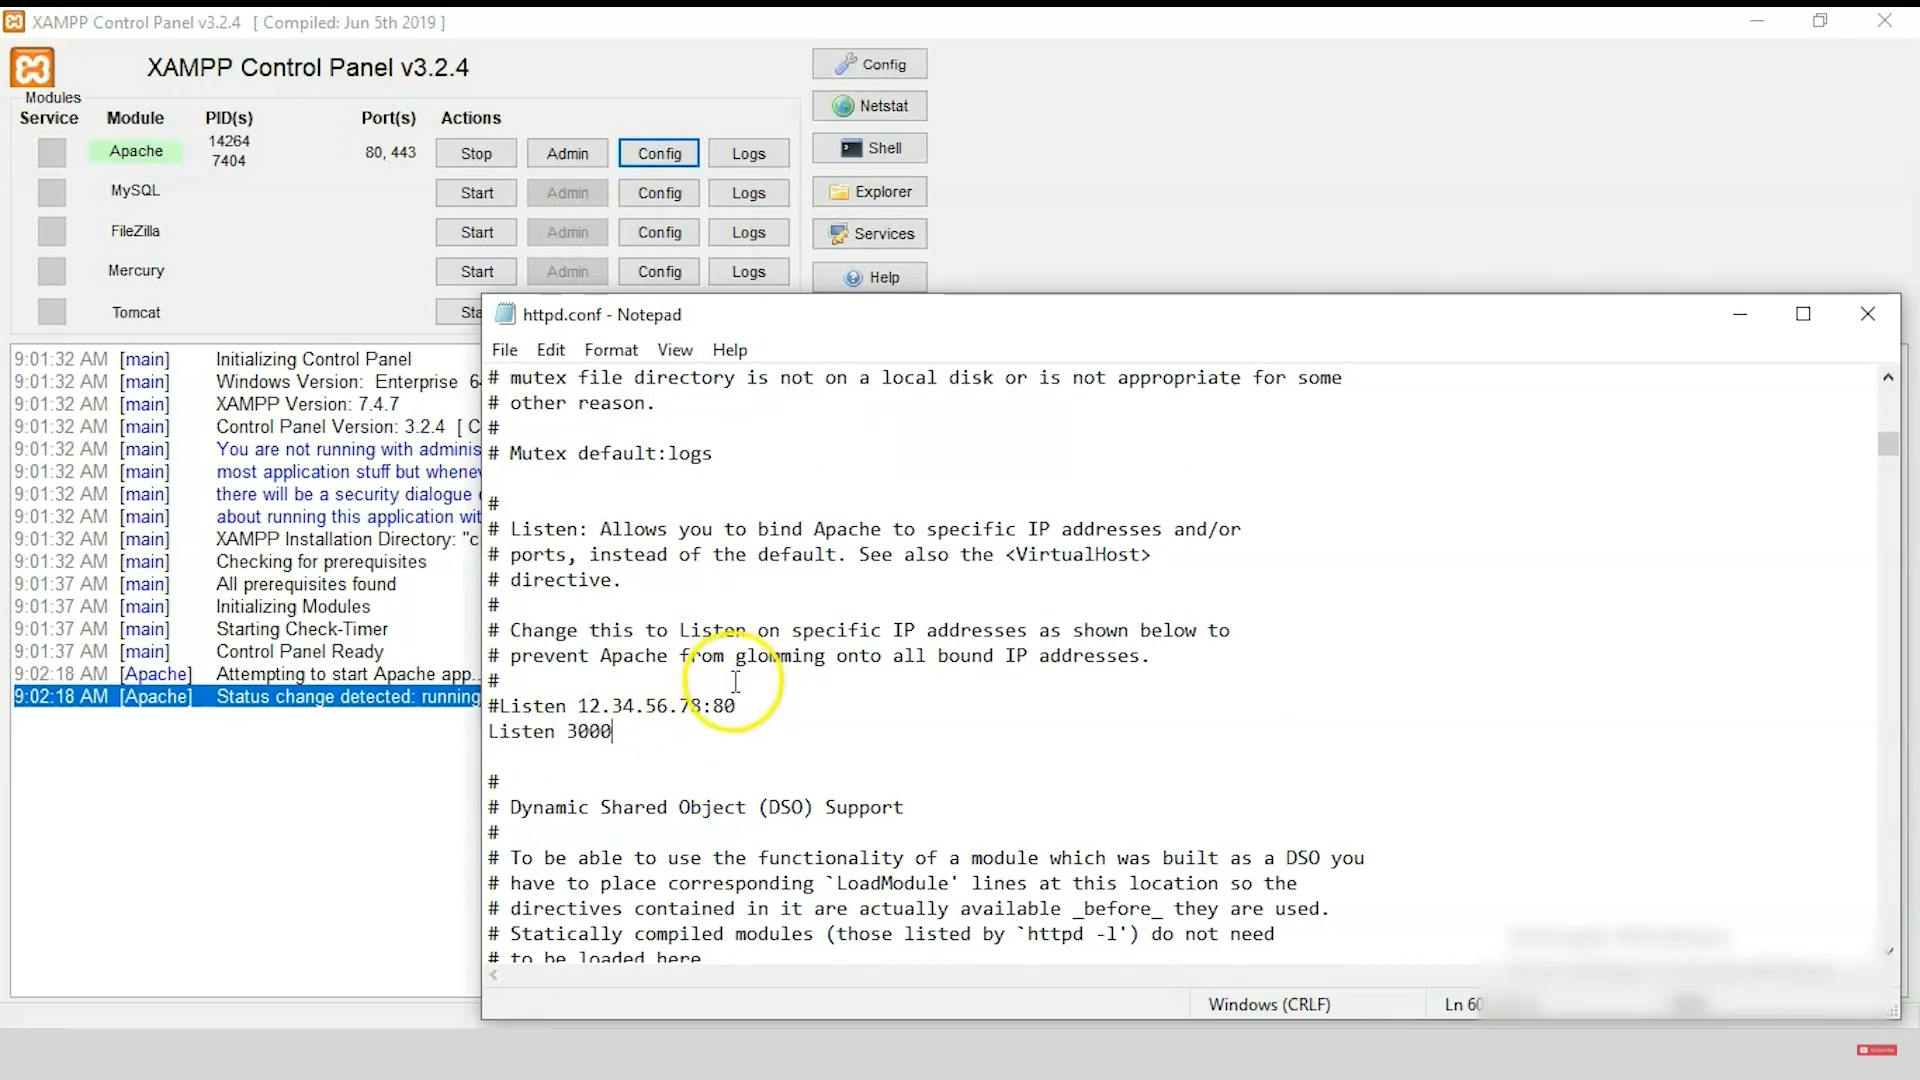 Just scroll to the bottom and now you
can see the port number and may change it as shown.
Just scroll to the bottom and now you
can see the port number and may change it as shown.
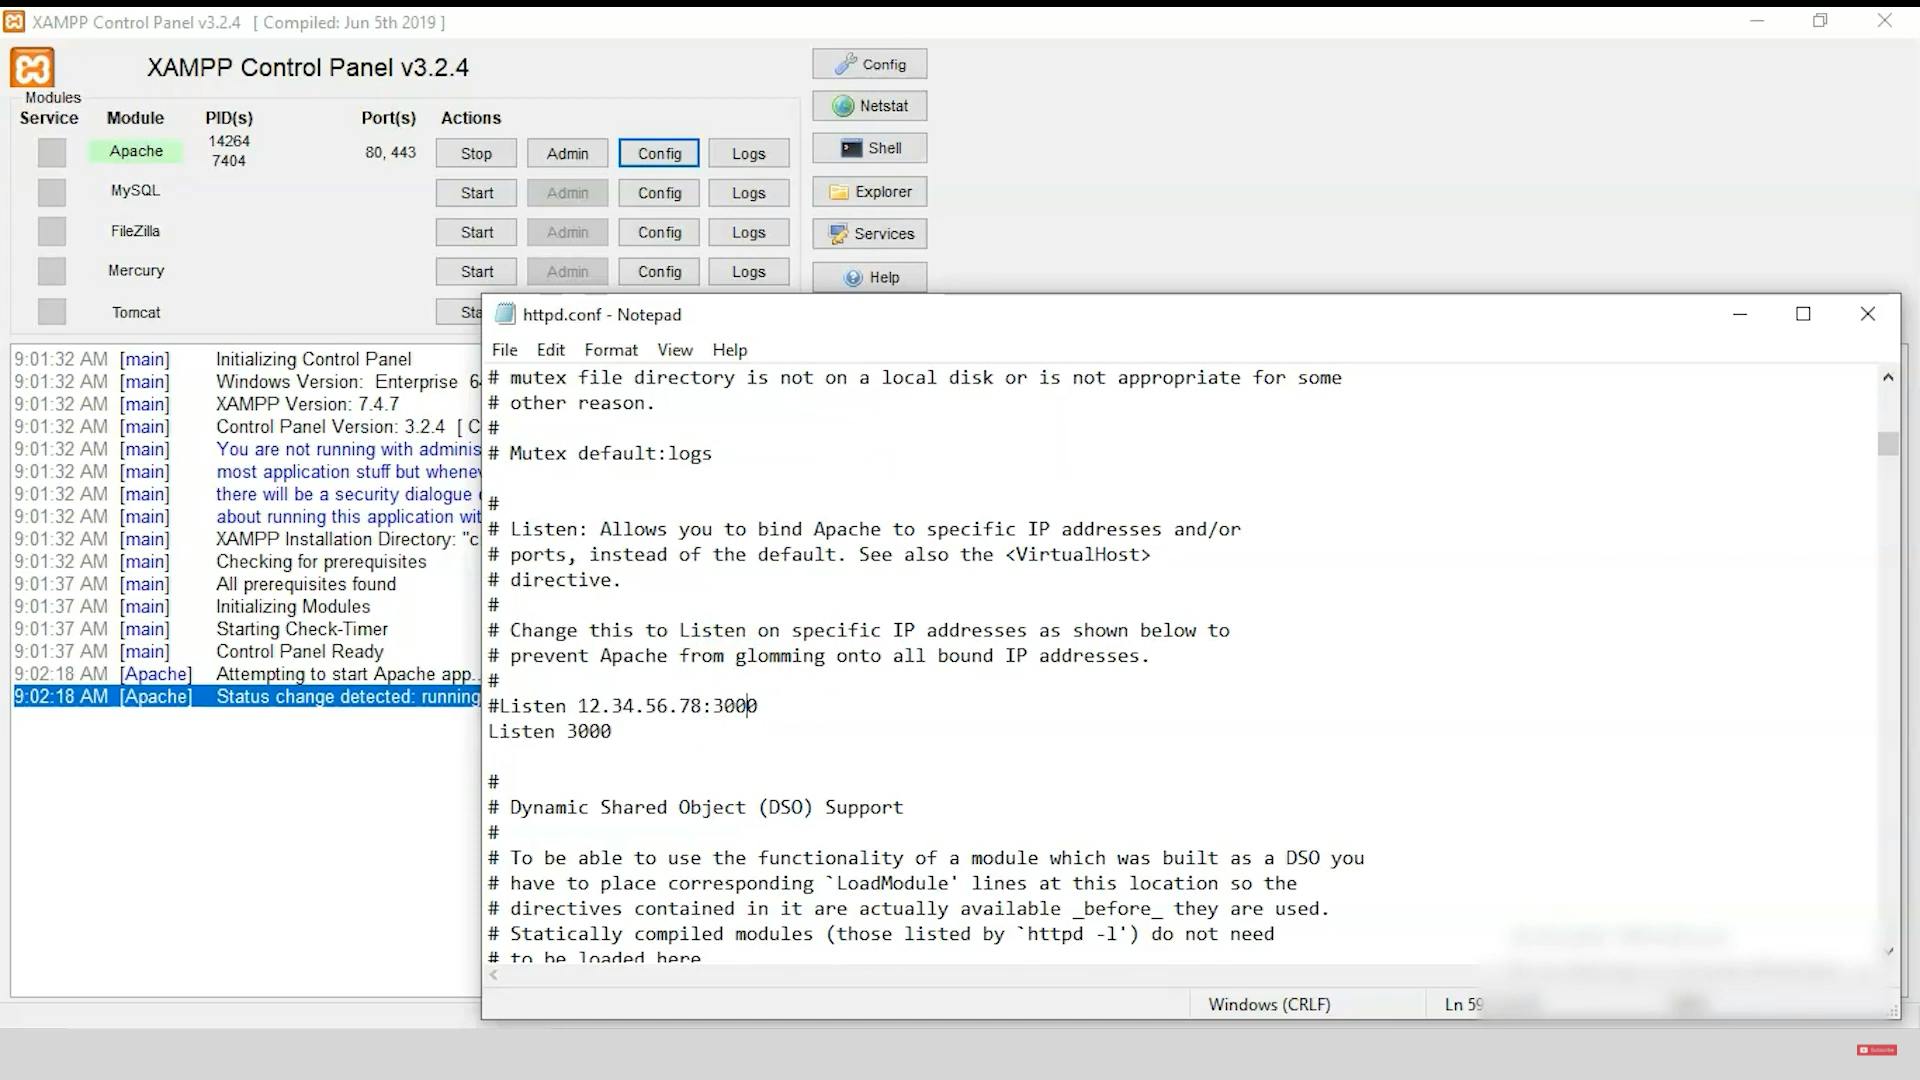 Now select the file option and save
it.
So let's try to restart our Apache
server by stopping and then again restarting it.
Now select the file option and save
it.
So let's try to restart our Apache
server by stopping and then again restarting it.
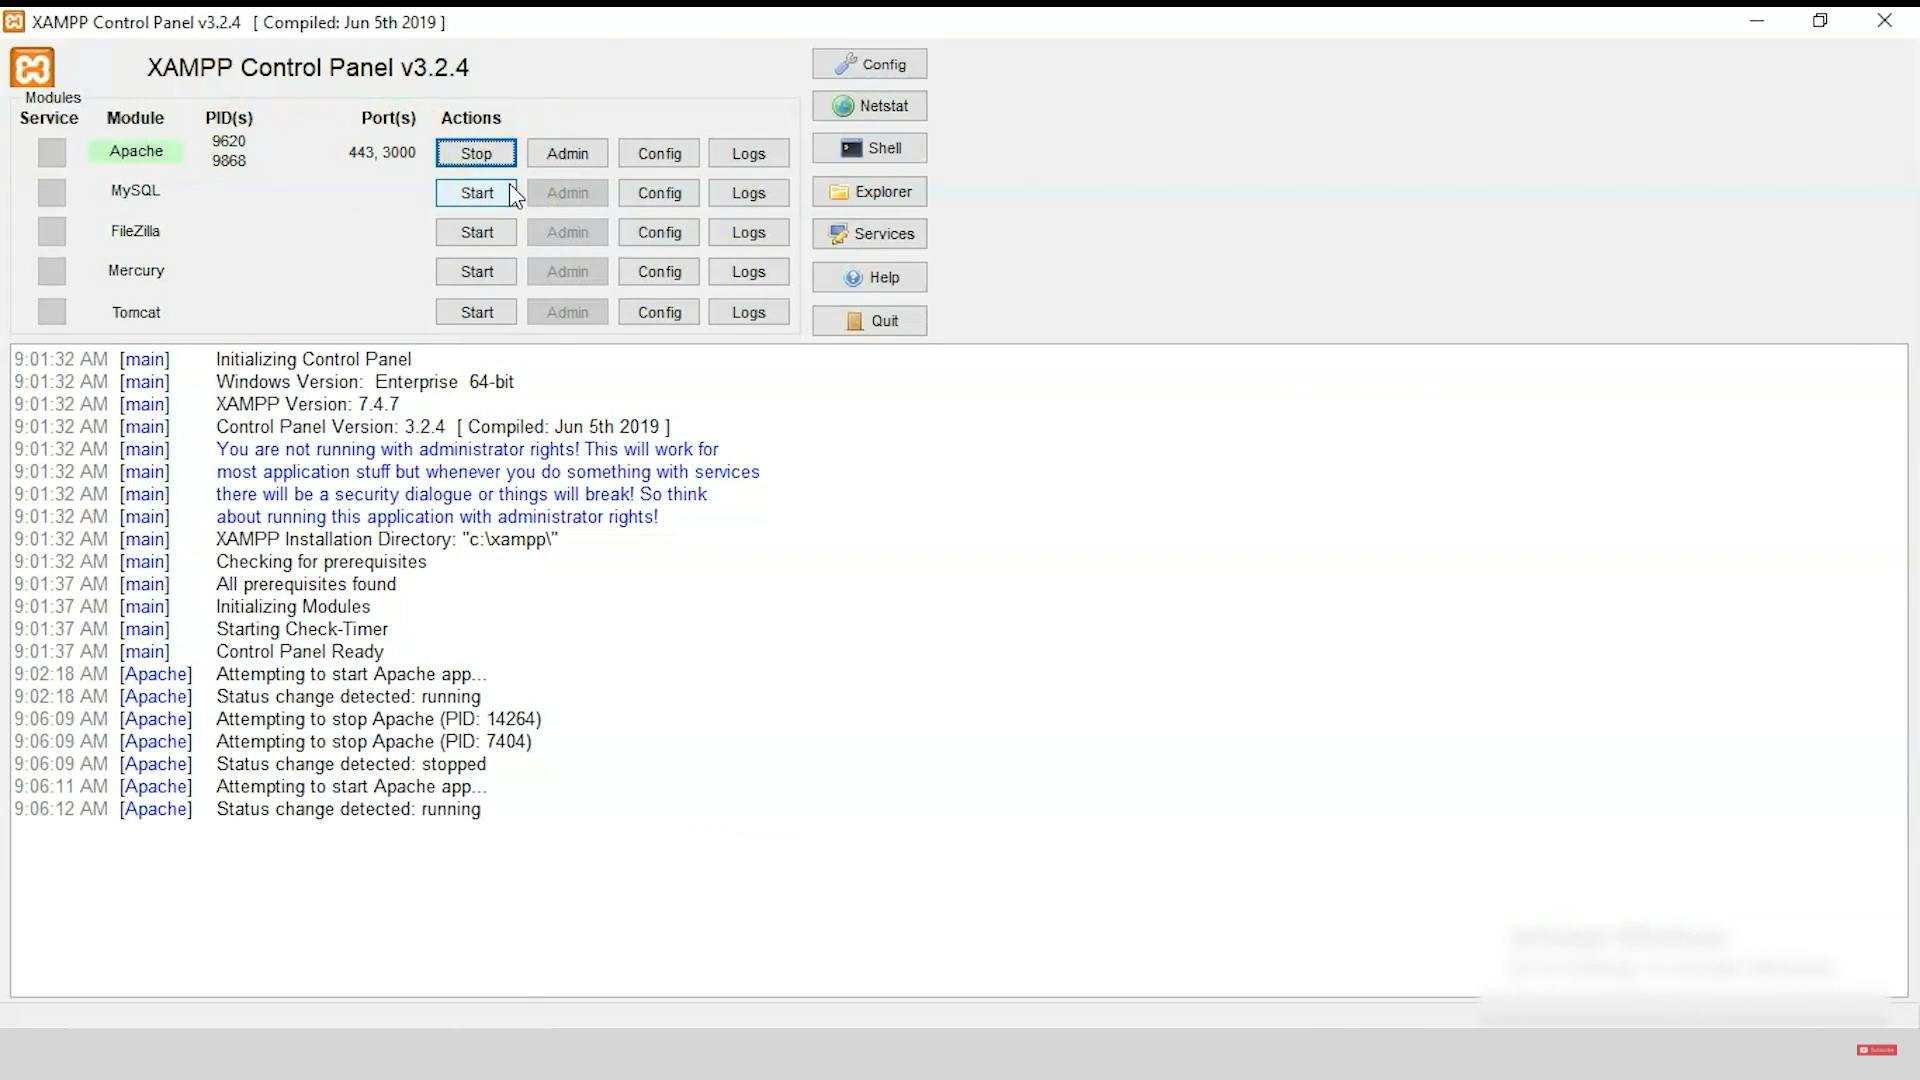 There! You can see the change
of the port number to 3000 and the
process IDs which are 9620 and 9868.
So this is how you install
XAMPP server and this is a complete
procedure to install XAMPP server into
your Windows operating system. I hope this was resourceful. If
you have any queries regarding this then please feel free to write
them down in the comment section below.
There! You can see the change
of the port number to 3000 and the
process IDs which are 9620 and 9868.
So this is how you install
XAMPP server and this is a complete
procedure to install XAMPP server into
your Windows operating system. I hope this was resourceful. If
you have any queries regarding this then please feel free to write
them down in the comment section below.