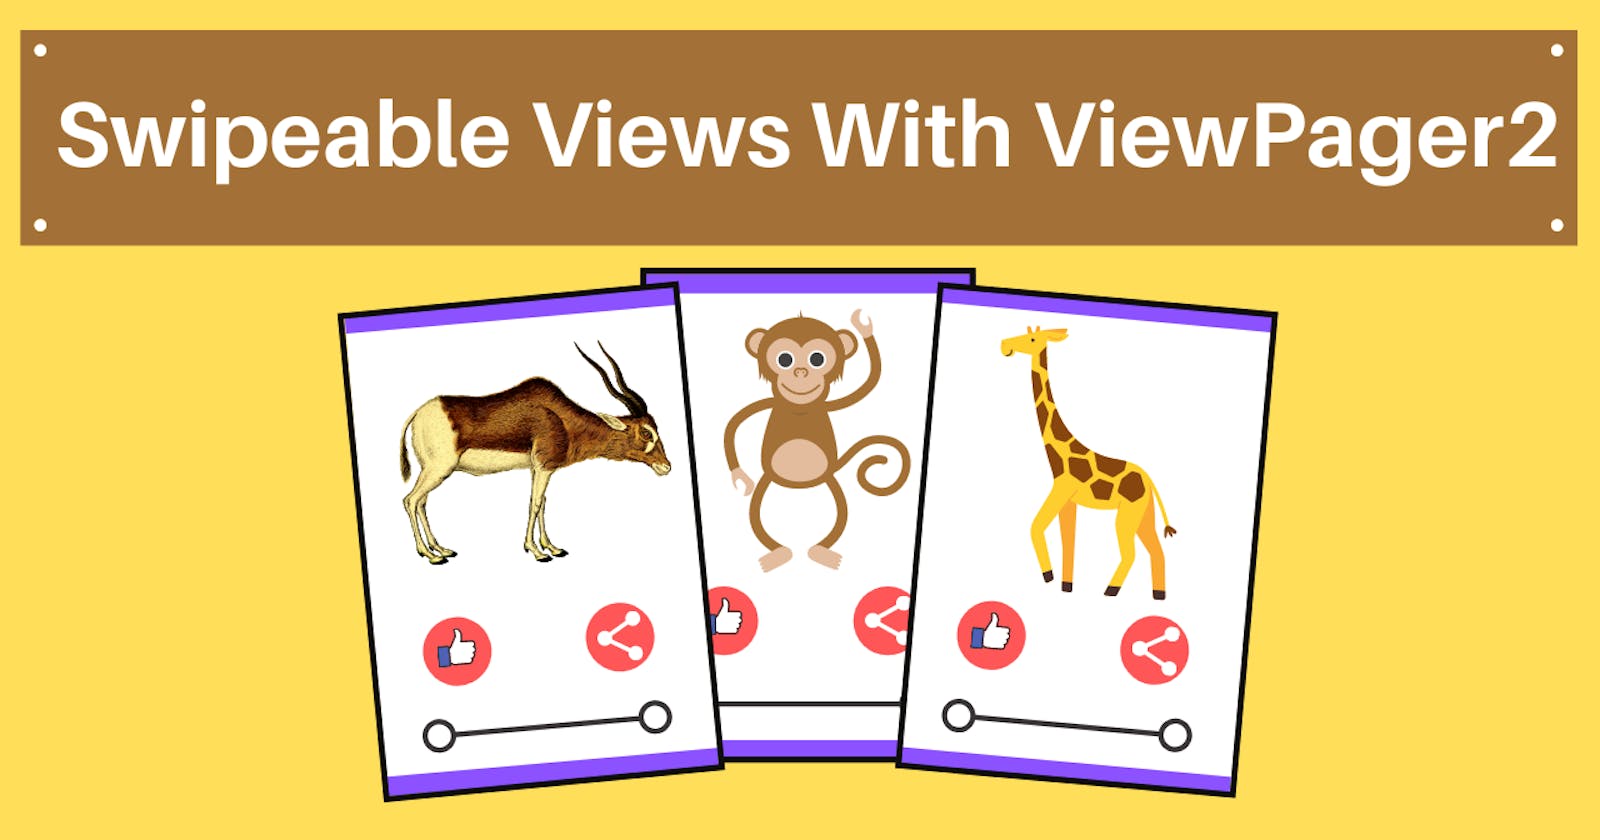


Hello Everyone 📢, In this tutorial, we are going to create awesome swipeable views using ViewPager2. Swipeable views allow us to navigate between different views of the same type.
Project Link: https://github.com/roadtocode-org/SwipableViews/
📍Step 0:
Create a new project in Android Studio with Empty Activity.
📍Step 1:
To use ViewPager2, add the following AndroidX dependency to your project's build.gradle file and click on Sync Now so, gradle.build will sync your project.
dependencies {
    implementation "androidx.viewpager2:viewpager2:1.0.0"
}
📍Step 2:
Now let's add ViewPager2 into the activity_main.xml, do not add a ViewPager because it is deprecated. After adding the ViewPager2 give it the id "viewPager" and set constraints as given in the following file.
<?xml version="1.0" encoding="utf-8"?>
<androidx.constraintlayout.widget.ConstraintLayout
    xmlns:android="http://schemas.android.com/apk/res/android"
    xmlns:app="http://schemas.android.com/apk/res-auto"
    xmlns:tools="http://schemas.android.com/tools"
    android:layout_width="match_parent"
    android:layout_height="match_parent"
    tools:context=".MainActivity">

    <androidx.viewpager2.widget.ViewPager2
        android:id="@+id/viewPager"
        android:layout_width="match_parent"
        android:layout_height="match_parent"
        app:layout_constraintBottom_toBottomOf="parent"
        app:layout_constraintEnd_toEndOf="parent"
        app:layout_constraintHorizontal_bias="0.5"
        app:layout_constraintStart_toStartOf="parent"
        app:layout_constraintTop_toTopOf="parent" />


</androidx.constraintlayout.widget.ConstraintLayout>
📍Step 3:
Now create a view layout for each swipeable item by creating a new Layout Resource File in the layout folder item_view_pager.xml . Here we are creating a simple example of ImageView but you can define any complex UI. You can directly copy and paste the following code.
<?xml version="1.0" encoding="utf-8"?>
<androidx.constraintlayout.widget.ConstraintLayout
    xmlns:android="http://schemas.android.com/apk/res/android"
    xmlns:app="http://schemas.android.com/apk/res-auto"
    android:layout_width="match_parent"
    android:layout_height="match_parent">

    <ImageView
        android:id="@+id/ivImage"
        android:layout_width="0dp"
        android:layout_height="0dp"
        android:layout_marginStart="20dp"
        android:layout_marginEnd="20dp"
        app:layout_constraintBottom_toBottomOf="parent"
        app:layout_constraintEnd_toEndOf="parent"
        app:layout_constraintHorizontal_bias="0.5"
        app:layout_constraintStart_toStartOf="parent"
        app:layout_constraintTop_toTopOf="parent" />

</androidx.constraintlayout.widget.ConstraintLayout>
📍Step 4:
Download images from the following link and paste them into the drawable folder of your project(You can use your own images). We will show these images inside swipeable views.
📍Step 5:
It works like a RecyclerView so we will create ViewPagerAdapter.kt adapter for our ViewPager2. After completing the ViewPagerAdapter it should look like the code given below.
package com.roadtocode.tinderviewpager

import android.view.LayoutInflater
import android.view.View
import android.view.ViewGroup
import android.widget.ImageView
import androidx.recyclerview.widget.RecyclerView


class ViewPagerAdapter(
        val images: List<Int>
):RecyclerView.Adapter<ViewPagerAdapter.ViewPagerViewHolder>()
{
    inner class ViewPagerViewHolder(itemView: View): RecyclerView.ViewHolder(itemView)

    override fun onCreateViewHolder(parent: ViewGroup, viewType: Int): ViewPagerViewHolder {
         val view = LayoutInflater.from(parent.context).inflate(R.layout.item_view_pager, parent, false)
        return ViewPagerViewHolder(view)
    }

    override fun onBindViewHolder(holder: ViewPagerViewHolder, position: Int) {
        val currImage = images[position]
        val  ivImage:ImageView =holder.itemView.findViewById(R.id.ivImage)
        ivImage.setImageResource(currImage)
    }

    override fun getItemCount(): Int {
        return images.size
    }
}
📍Step 6:
Finally, In the MainActivity we will create an Adapter and we will pass the set of the images to the Adapter from MainActivity.kt and assign the adapter to ViewPager2
package com.roadtocode.swipableviews

import androidx.appcompat.app.AppCompatActivity
import android.os.Bundle
import androidx.viewpager2.widget.ViewPager2
import com.roadtocode.swipableviews.databinding.ActivityMainBinding

class MainActivity : AppCompatActivity() {

    lateinit var binding: ActivityMainBinding
    override fun onCreate(savedInstanceState: Bundle?) {
        super.onCreate(savedInstanceState)
        binding = ActivityMainBinding.inflate(layoutInflater)
        setContentView(binding.root)

        val images = listOf(
            R.drawable.image1,
            R.drawable.image2,
            R.drawable.image3,
            R.drawable.image4,
            R.drawable.image5,
        )

        var adapter = ViewPagerAdapter(images)

        binding.viewPager.adapter = adapter

        binding.viewPager.orientation = ViewPager2.ORIENTATION_VERTICAL


    }
}
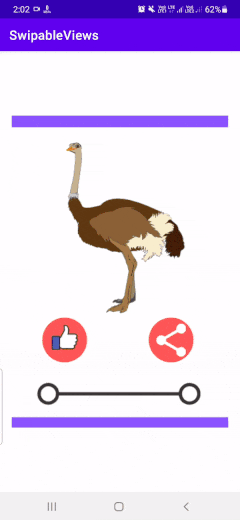
📍Step 7:
Now run the app and it will look like this✨🎉
If you enjoyed this article, share it with your friends and colleagues! 💬
Happy Coding 🛴